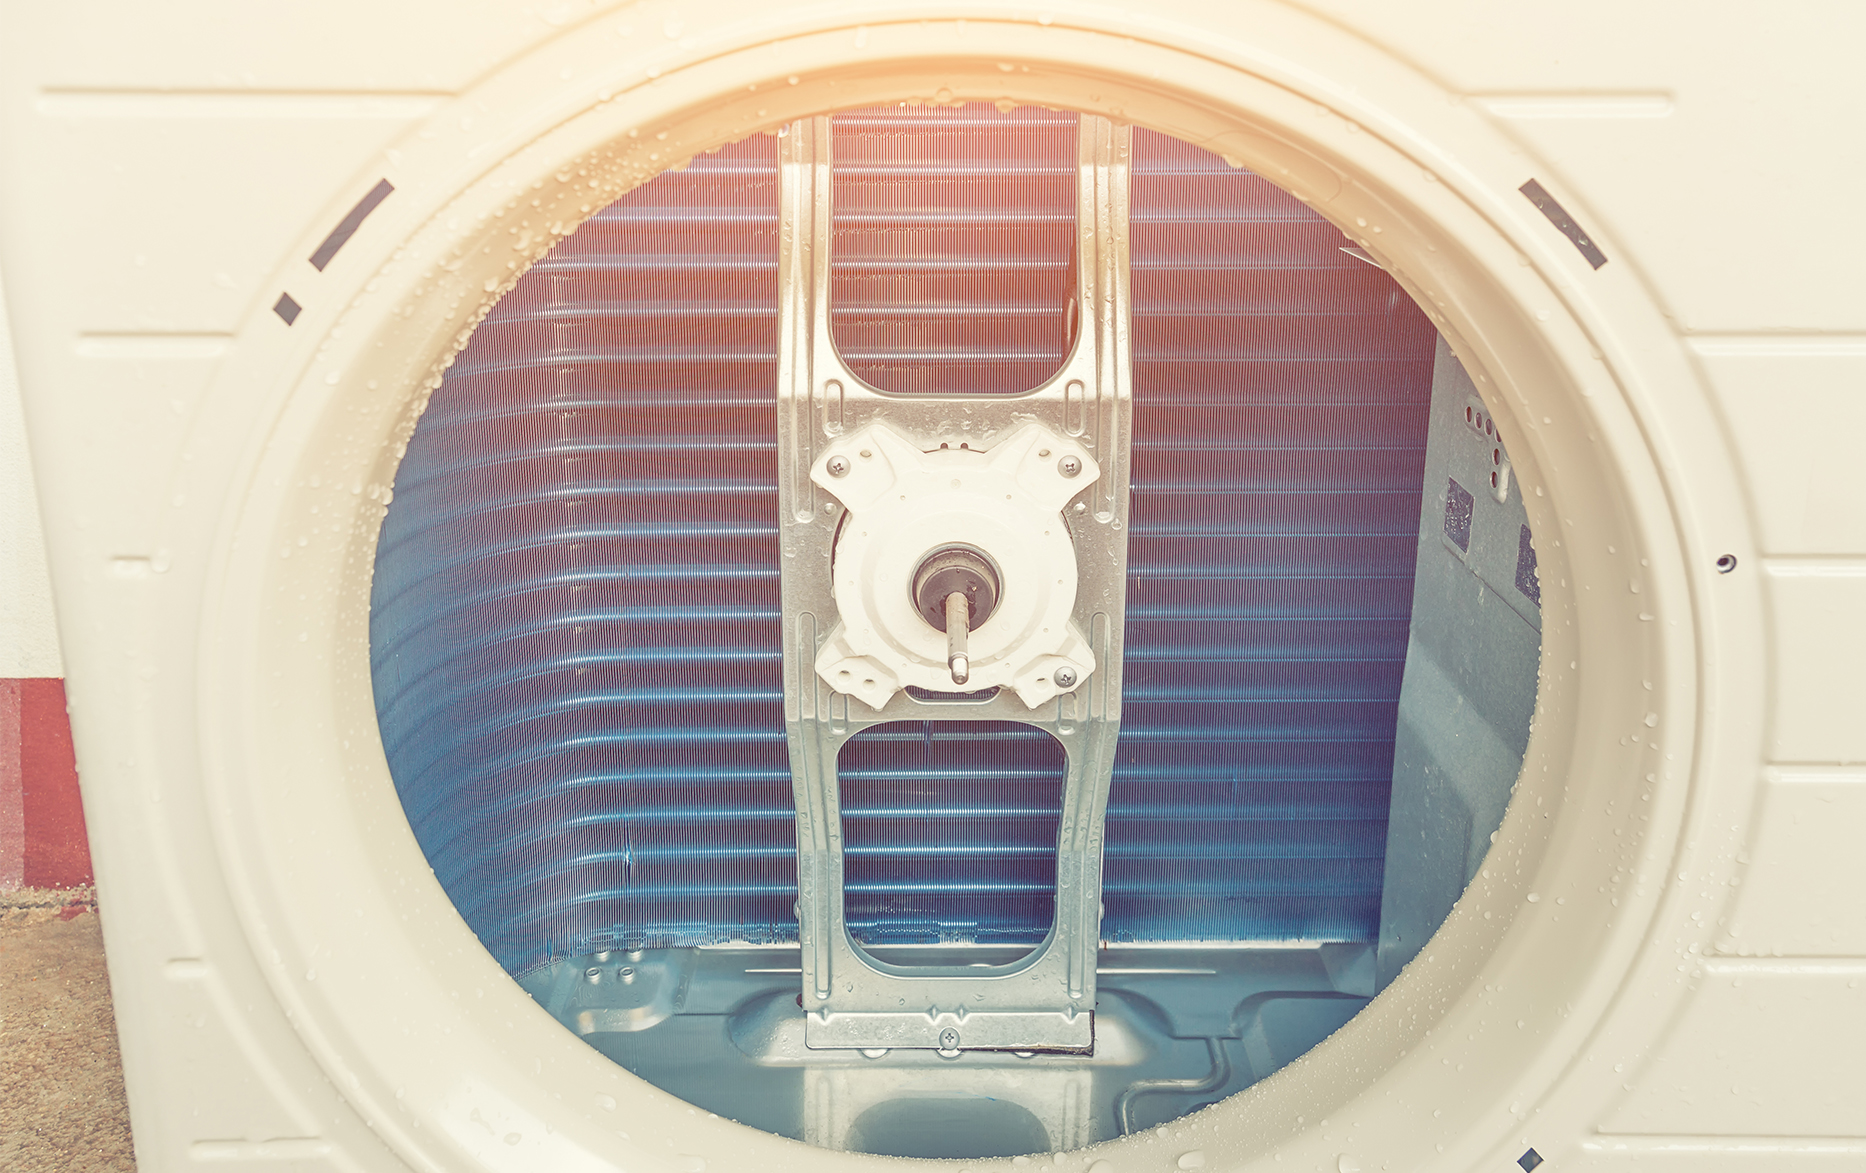
HOW TO CLEAN CONDENSER COILS
Home air conditioners get a heavy workout during hot summer months, and A/C coils are one of those components that can make or break your electric bill. Dust & dirt buildup is the number one enemy of your air conditioning unit, diminishing the proper transfer of heat over the coils.
You can avoid higher energy costs and the potential need to replace your A/C unit entirely by replacing your air filter every four months, and giving your condenser coils a good cleaning with Simple Green All-Purpose Cleaner.
DIRECTIONS:
Check your air conditioner warranty before cleaning.
- Turn off the A/C and shut off power to the condensing unit.
- Remove outer case and caging. Remove the bolts that are attaching the lid to the rest of the condenser, avoiding the bolts that hold the fan to the lid. If your air conditioner's fan assembly is at the top of the unit, be careful not to stretch or damage any wires. If you can't proceed without doing this, contact a professional.
- Clear out debris and broken fins. Use a small broom or hand brush to remove any broken aluminum fins (aluminum fins improve heat transfer) as well as leaves, dirt or dead insects that have gotten into the unit. This helps increase airflow and cooling.
- Spray out the unit. Use a hose to spray your A/C unit from the inside outward, without soaking the disconnect or the electrical components inside the access panel.
- Spray the coils down with Simple Green All-Purpose Cleaner. Cover the coils entirely with the cleaner. Let the Simple Green sit 10-15 minutes (without allowing it to dry) to penetrate heavier dirt, dust and grime build-up.
- Rinse and dry your A/C. Clear away any remaining residue. Dry with a clean cloth.
- Inspect coil fins for damage: Carefully straighten any bent coil fins with a fin comb.
- Reassemble the air conditioner: Reassemble your air conditioner now that your coils are clean, and reconnect power to the condensing unit.

