HOW TO CLEAN A STAND MIXER
- Microfibers, terry cloth, or paper towels
- Cotton swabs
Standing over a bowl with a wooden spoon mixing and mixing for what seems like hours on end? A thing of the past. Sitting down after putting brownies in the oven feeling like you just barely made it through upper body day at the gym? Can't relate.
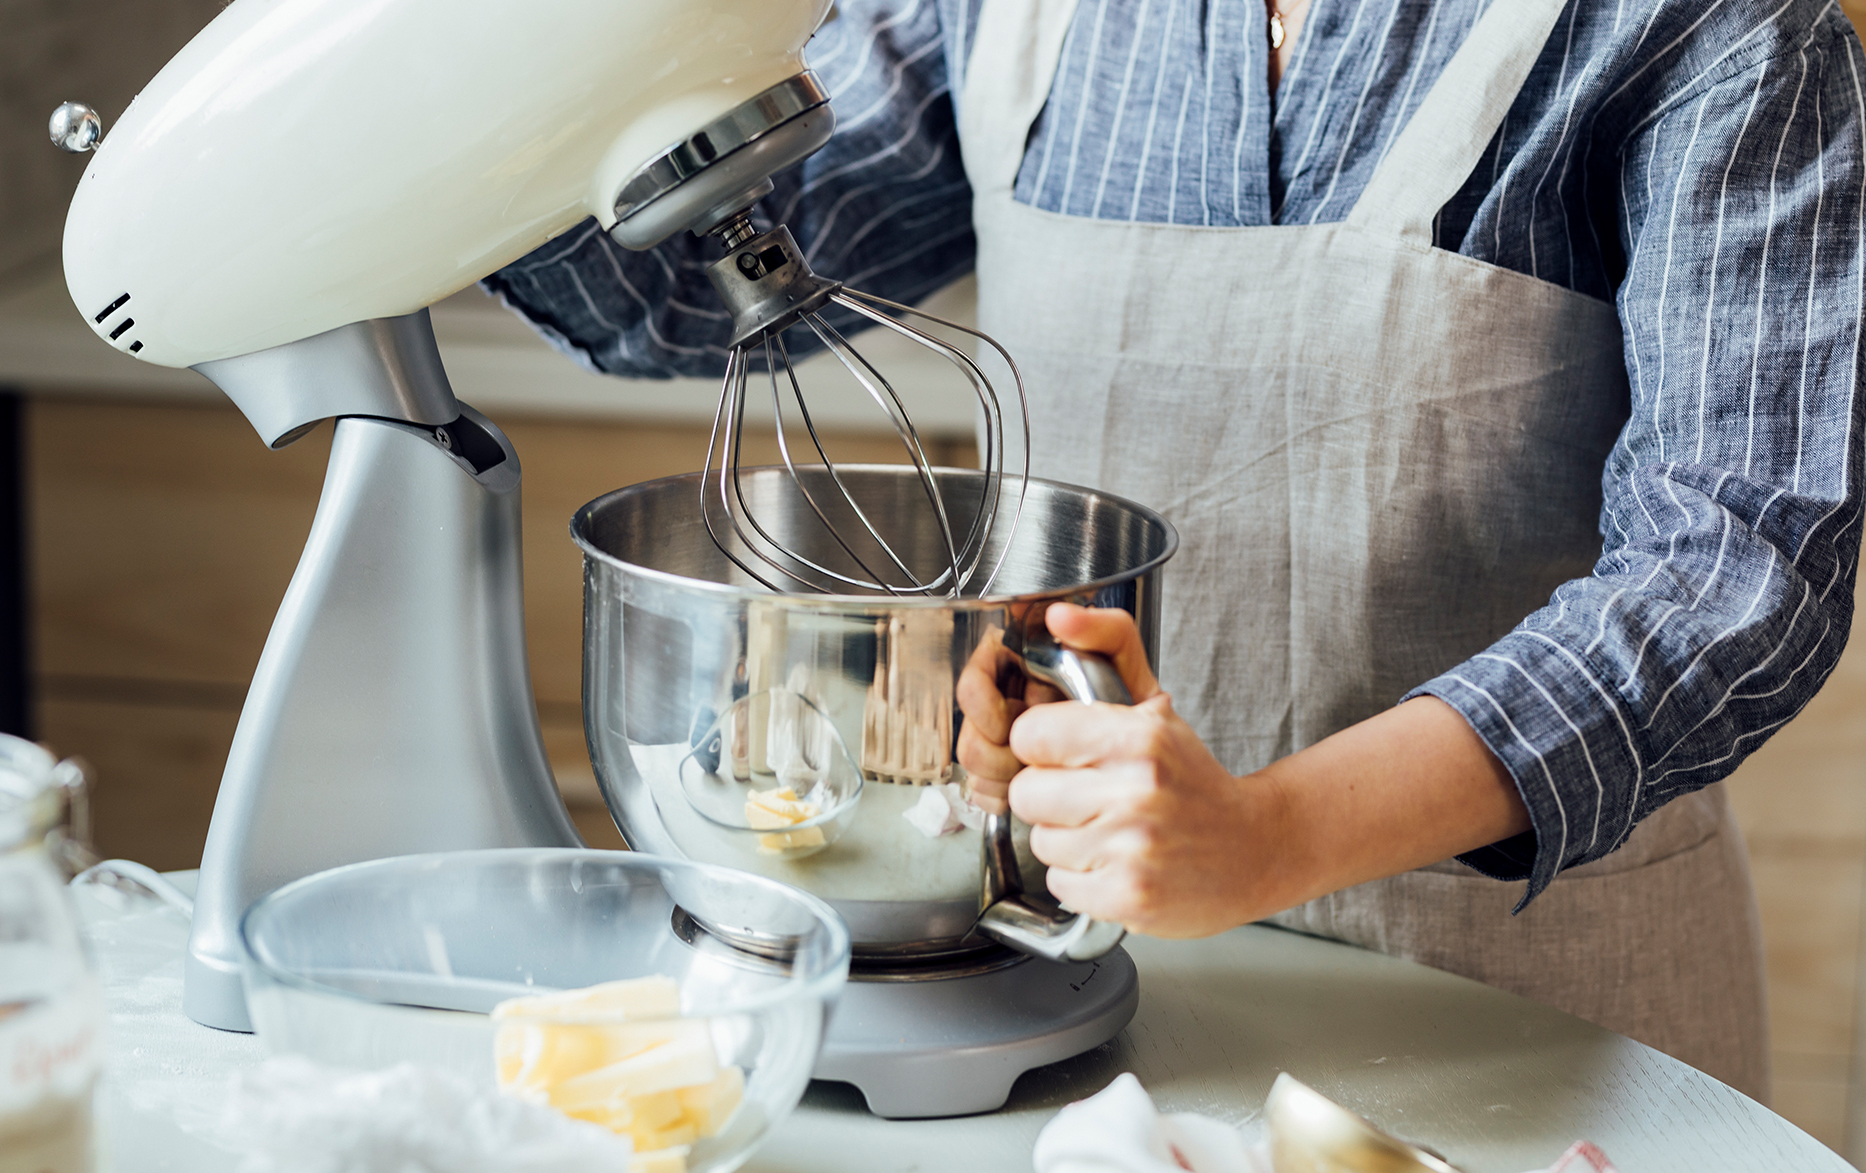
From kneading homemade bread to mashing potatoes to whipping up a cake, stand mixers are true kitchen heroes for the home cook or baker, but they can quickly get grimy without proper care. Sticky dough, greasy butter, melted chocolate, and sugar granules are standard messes to deal with, but when food particles collect in various nooks, crannies, and mixer attachments, it can interfere with your appliance and eventually cause your mixer to stop working.
To keep it in good working order, it's important to deep clean your mixer after every few uses, or more depending on frequency of use. You should be careful to include the various knobs, levers, and ventilation ports, as well as areas you may not see, including fine grooves and crevices within the mixer design.
Stuck-on food and stains on your stand mixer can be persistent, and a standard cleaning with dish soap and water usually won't do the trick. Even the trusted mixture of baking soda and vinegar can take anywhere from 30 minutes to an hour (and a lot of elbow grease) to start removing gunk. Simple Green All-Purpose Cleaner's formula powers out grime, cuts through grease and oil, and removes splatters without caustic or acidic chemicals.
Check your owner's manual for any precautions before cleaning your electric mixer.
Directions for Cleaning a Mixer:
- Unplug the appliance. Remove flat beaters, mixing bowl, kneading paddles and other attachments.
- Clean the attachments. Fill the mixing bowl with hot water. Add 1 oz. of Simple Simple Green All-Purpose Cleaner per 1 cup of water. Place the beaters, hooks, and attachments in the bowl. Allow to sit for 1-2 minutes. Wash as usual with warm soapy water or place in the dishwasher.
- Clean the mixing bowl. Scrub away any grime remaining after soaking (from step 2). Hand wash or place in the dishwasher.
- Remove debris. Remove crumbs and built-up grime from the ventilation shaft on the backside of the mixer's head with a toothpick or small, dry brush (a toothbrush works perfectly).
- Scrub. Use a small brush to scrub away any visible build-up in the area near the motor head. Avoid scrubbing parts with painted markings. Gently wipe them clean with hot water and a microfiber, terry cloth or paper towel.
- Clean the motor head. Tilt the motor head back, spray with Simple Green and scrub thoroughly, including the outer rim and lipped area beneath the motor head where residue can accumulate. Wipe these areas with a damp cloth or paper towel after cleaning.
- Pay attention to build-up. The rim on the back of the motor head casing collects dust and grime that may go unnoticed. The lipped area underneath the motor head is a prime spot for splatters and food residue, as is the rim of the bowl clamping plate (flat, silver plate on the bottom of the mixer's base) and any exposed screws. Use a cotton swab or small brush wet with Simple Green to remove grime and residue. Wipe these areas with a damp cotton swab, cloth, or paper towel after cleaning.
- Thoroughly clean the beater shaft and bowl clamping plate. The shaft and the clip surrounding the shaft both gather a lot of fine ingredients and need to be cleaned well. Use a paper towel or small brush to remove flour and other ingredients.
- Wipe the mixer body. Spray Simple Green on a paper towel or cloth and wipe down the stand mixer body, being careful not to leak liquids into ventilation ports or openings around knobs and levers. Repeat wipe-down with damp cloth or paper towel.
- Air dry. Let the mixer and all its components dry, then reassemble.

